
Step-By-Step Guide
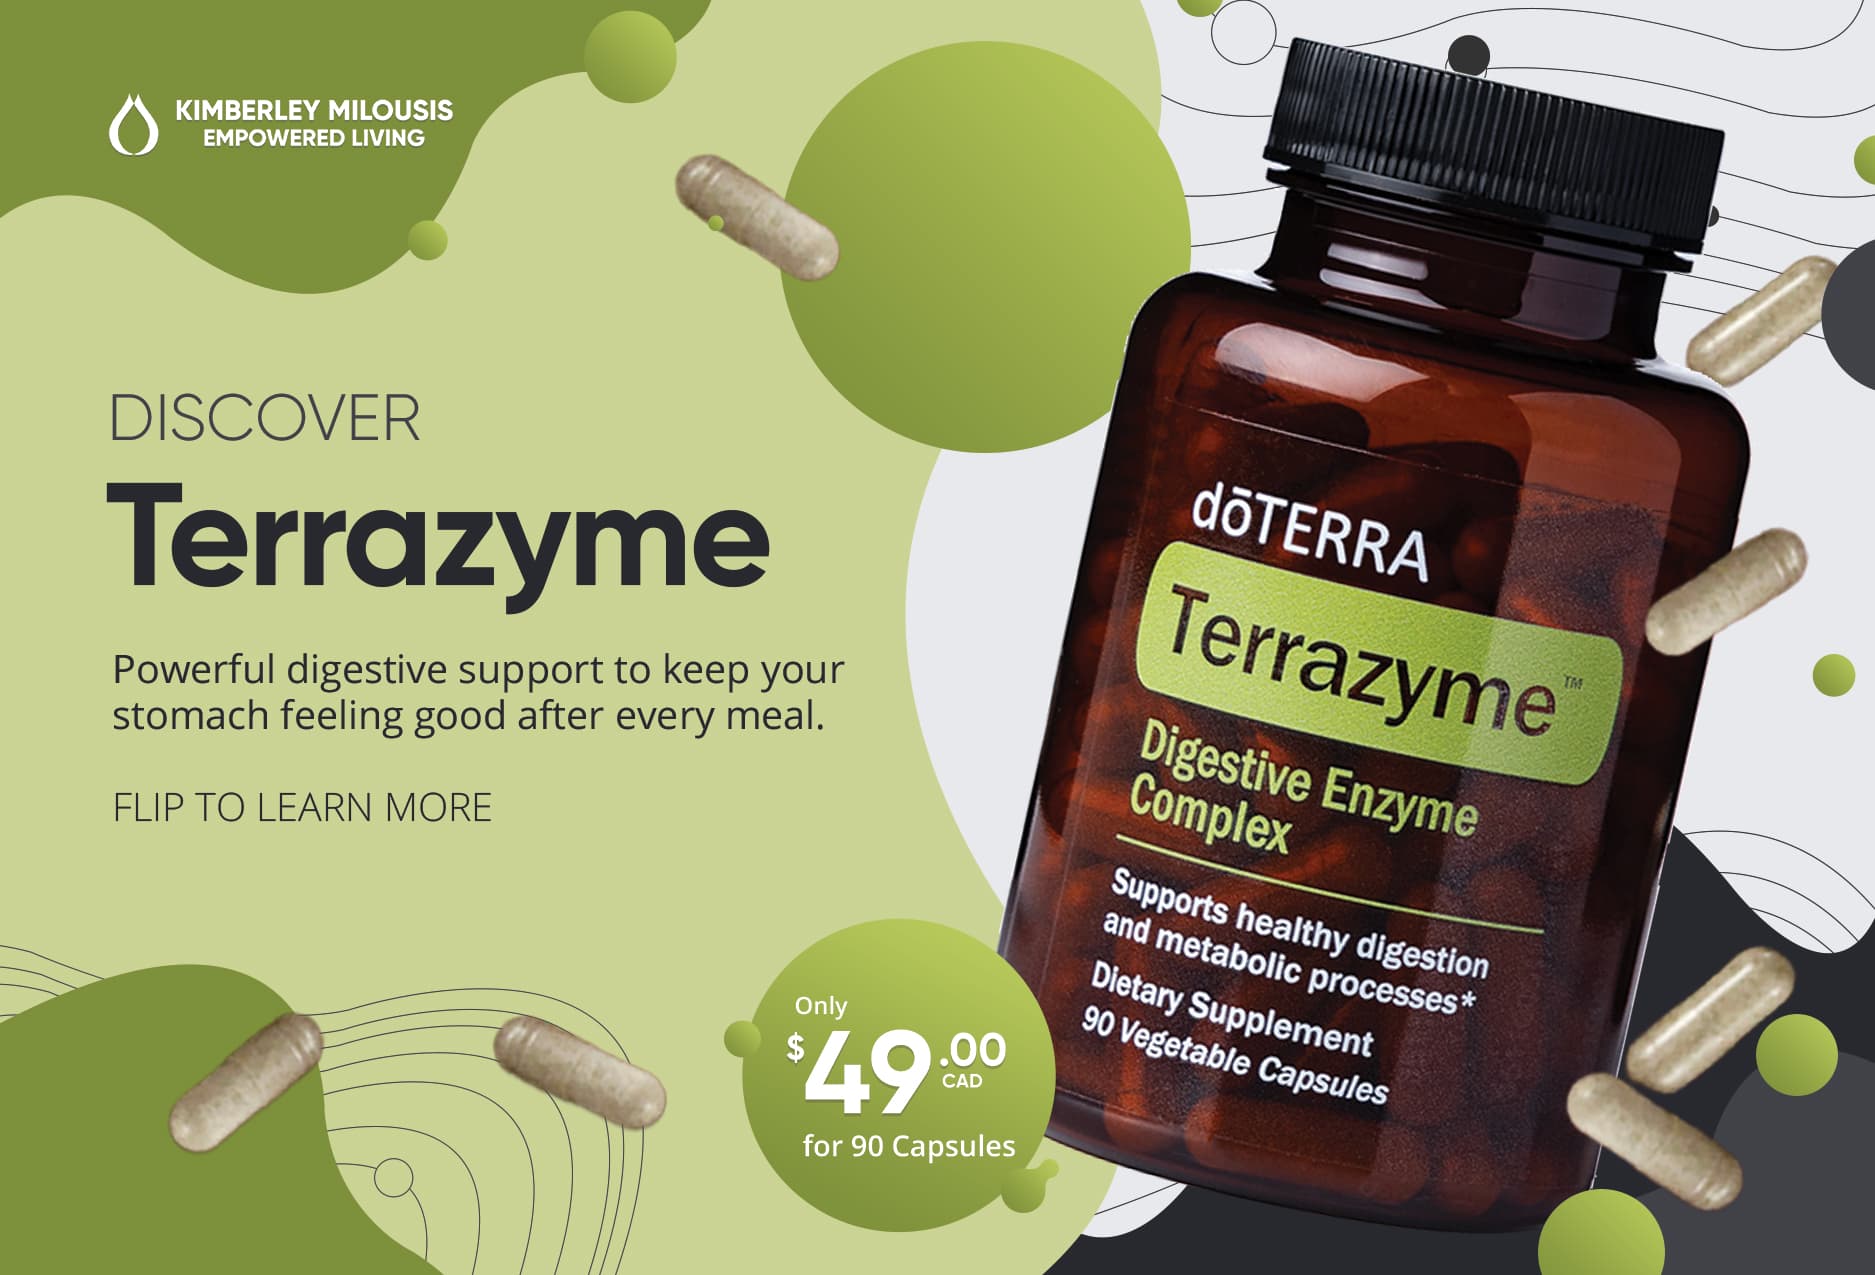
Here’s a step-by-step guide to setting up and sending out this postcard.
1. Customize the design if you would like. There is a space in the top-left of the front where you can add a logo. There is a blank space in the bottom right where you can add a purchase link or a QR code for more information.
2. Print this design on a 4×6 postcard using a printing service like Vistaprint.
3. Buy sample packs to hold the Terrazyme samples.
4. Print the custom ‘Terrazyme’ sample label from Avery. Order a few more than you need in case you mess some up. We used a 1.5” by 2.75” template.
5. Order envelopes slightly larger than 4×6 which will fit the postcard. Uline, Amazon, Michaels often have good prices.
Once all your supplies arrive, continue to step 6.
6. Place the Terrazyme sample stickers on the sample packs aligning it as best you can.
7. Put 2 capsules of Terrazyme in each sample pack. With 2 drops per pack, one bottle of Terrazyme can do 45 samples. Seal the sample pack.
8. To mail it out to your customers, put these postcards into envelopes slightly larger than the postcards. We purchased ours from Uline. Because there is a removable sample pack inside, this piece needs an envelope to be sent.
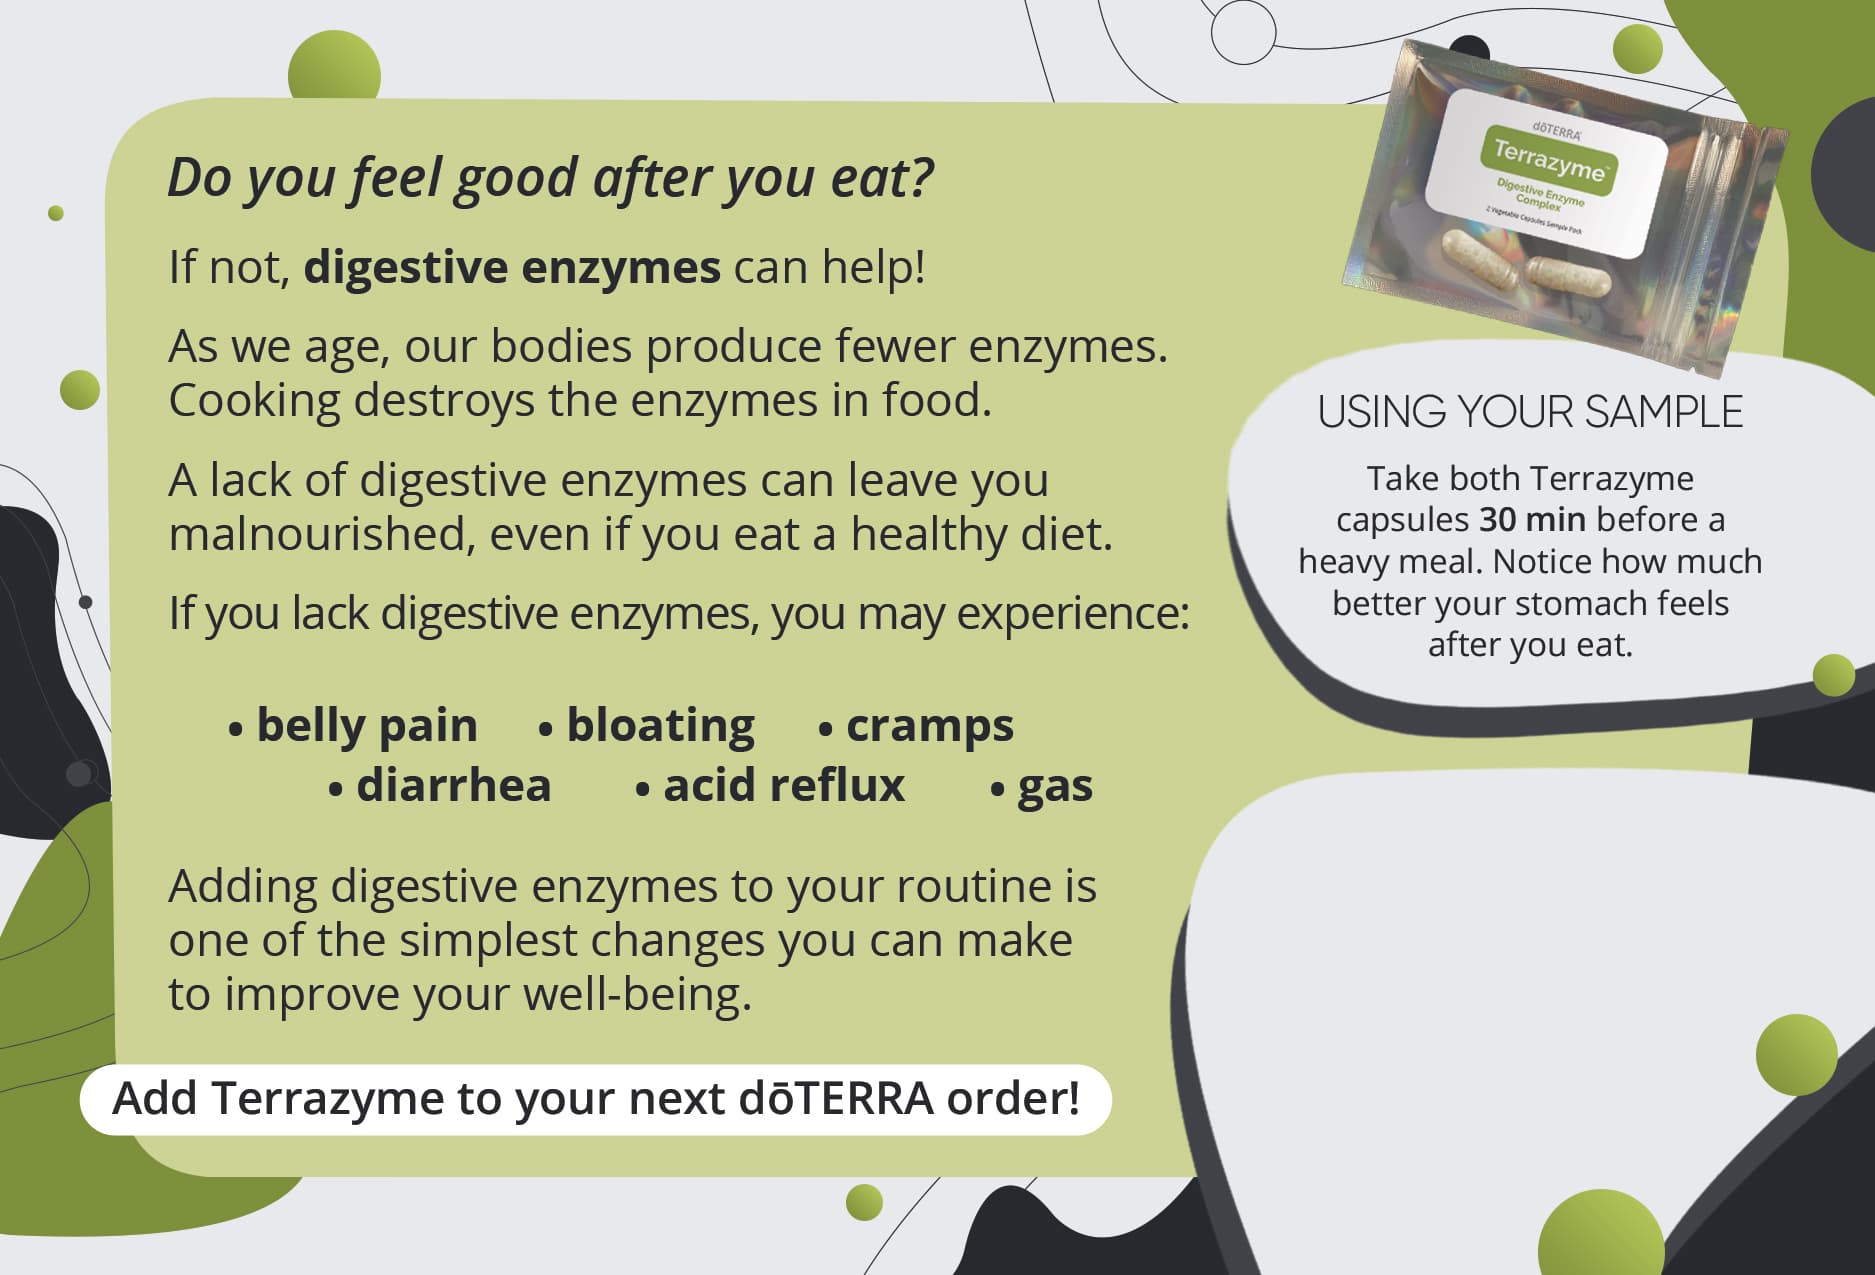
Note: The blank space in the bottom right is for adding a URL. In ours, we have a QR code and a short link to kimm.me/terrazyme. We also put some text which says: “Want $10 off? Learn how:”. The text refers to how you can get $10 off when buying LLV on LRP.
Postcard Versions
In the downloaded folder, you’ll see multiple versions for the front side. The back side can be used with any of the versions. The different versions of the front side are as follows:
- Canadian version: has price in CAD on the front
- US version: has price in USD on the front
- No country version: has the price removed
How to edit and print postcards
How to open .zip files
How To Open A ZIP File On Windows & Mac (ZIP File Opener)